 |
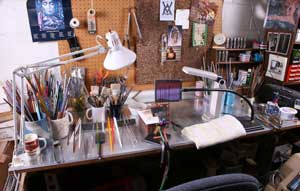
This is my bench, set up for working. I am left handed, so I keep the glass on my left. There are several mugs with tools and glass rods in them close enough to reach. I work with two lights, one of each side of me. A towel folded into a mat goes under my right elbow to keep it from developing blisters. I use a shield instead of special glasses to block the sodium flare. |
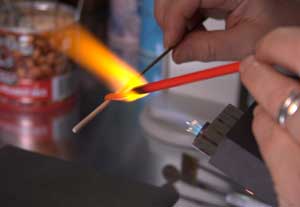 |
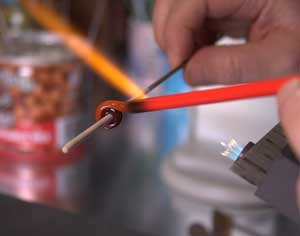
You can see the bead release, a liquid clay, on the mandrel (the metal rod.) This allows the bead to come off the mandrel when it is cooled. Heat the end of a glass rod, warm the mandrel, and touch the glass to the mandrel while rolling it away from you. The bright yellow you see is called sodium flare, and I wear special glasses so I don't see that when I am working. |
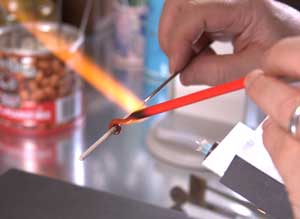 |
Keep winding the molten glass onto the mandrel until you run out of molten glass. Don't pull or the bead release may break. |
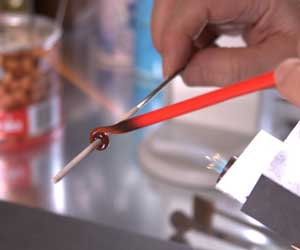 |
Keep the rod of glass in the flame to keep the glass molten so it can be wound onto the bead, and keep the bead below the flame. |
 |
Keep turning until you run out of molten glass or the bead is as large as you want and then flame cut the rod. |
 |
Heat the bead in the top of the flame to get it round. Always keep turning, or gravity will take over. |